
Beyond Contour Cavity Drawing of a Skull #2
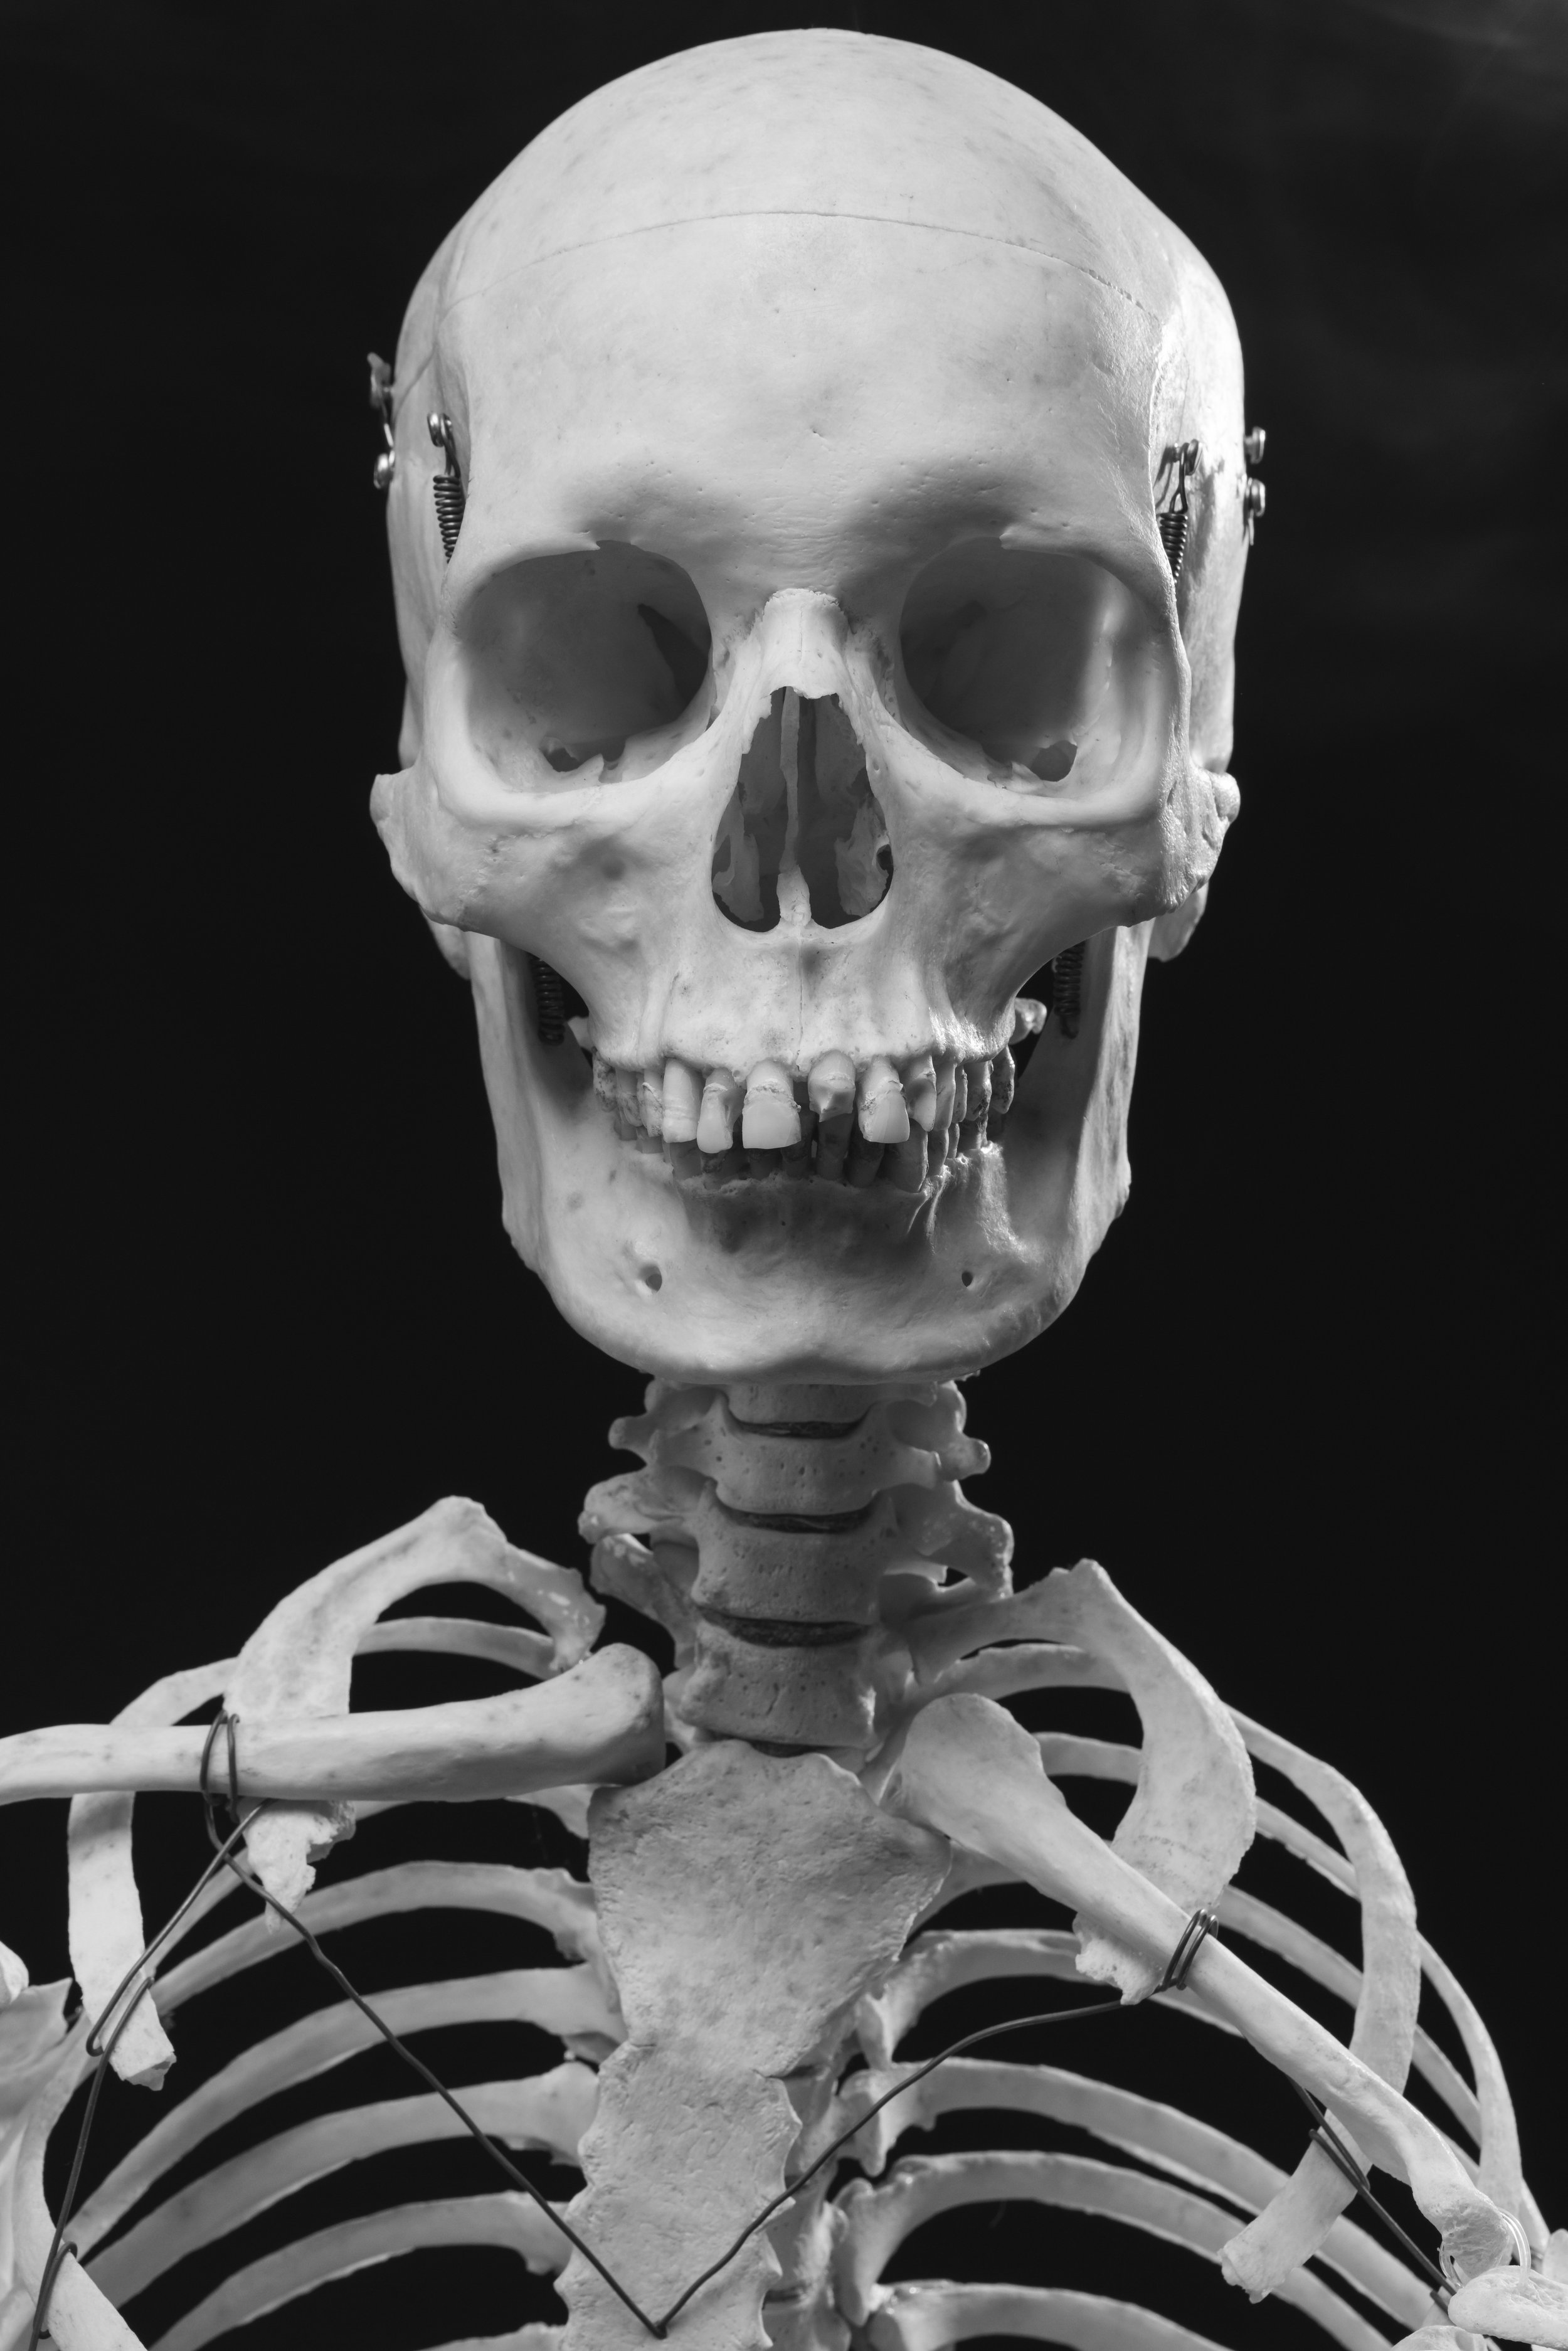
As you begin drawing on a higher level you will discover that there are many ways to capture the form of a subject. The method that I want you to learn is what I call the contour cavity technique. The steps are quite simple. We will jump start this process by using a light tablet and a photo of a human skeleton. Using tracing paper copy the image using a pencil and create contour outlines or cavities of the highlights and values of the skeleton. After you complete the contour cavities then go back and complete your drawing by adding shading, blending, and gradations.
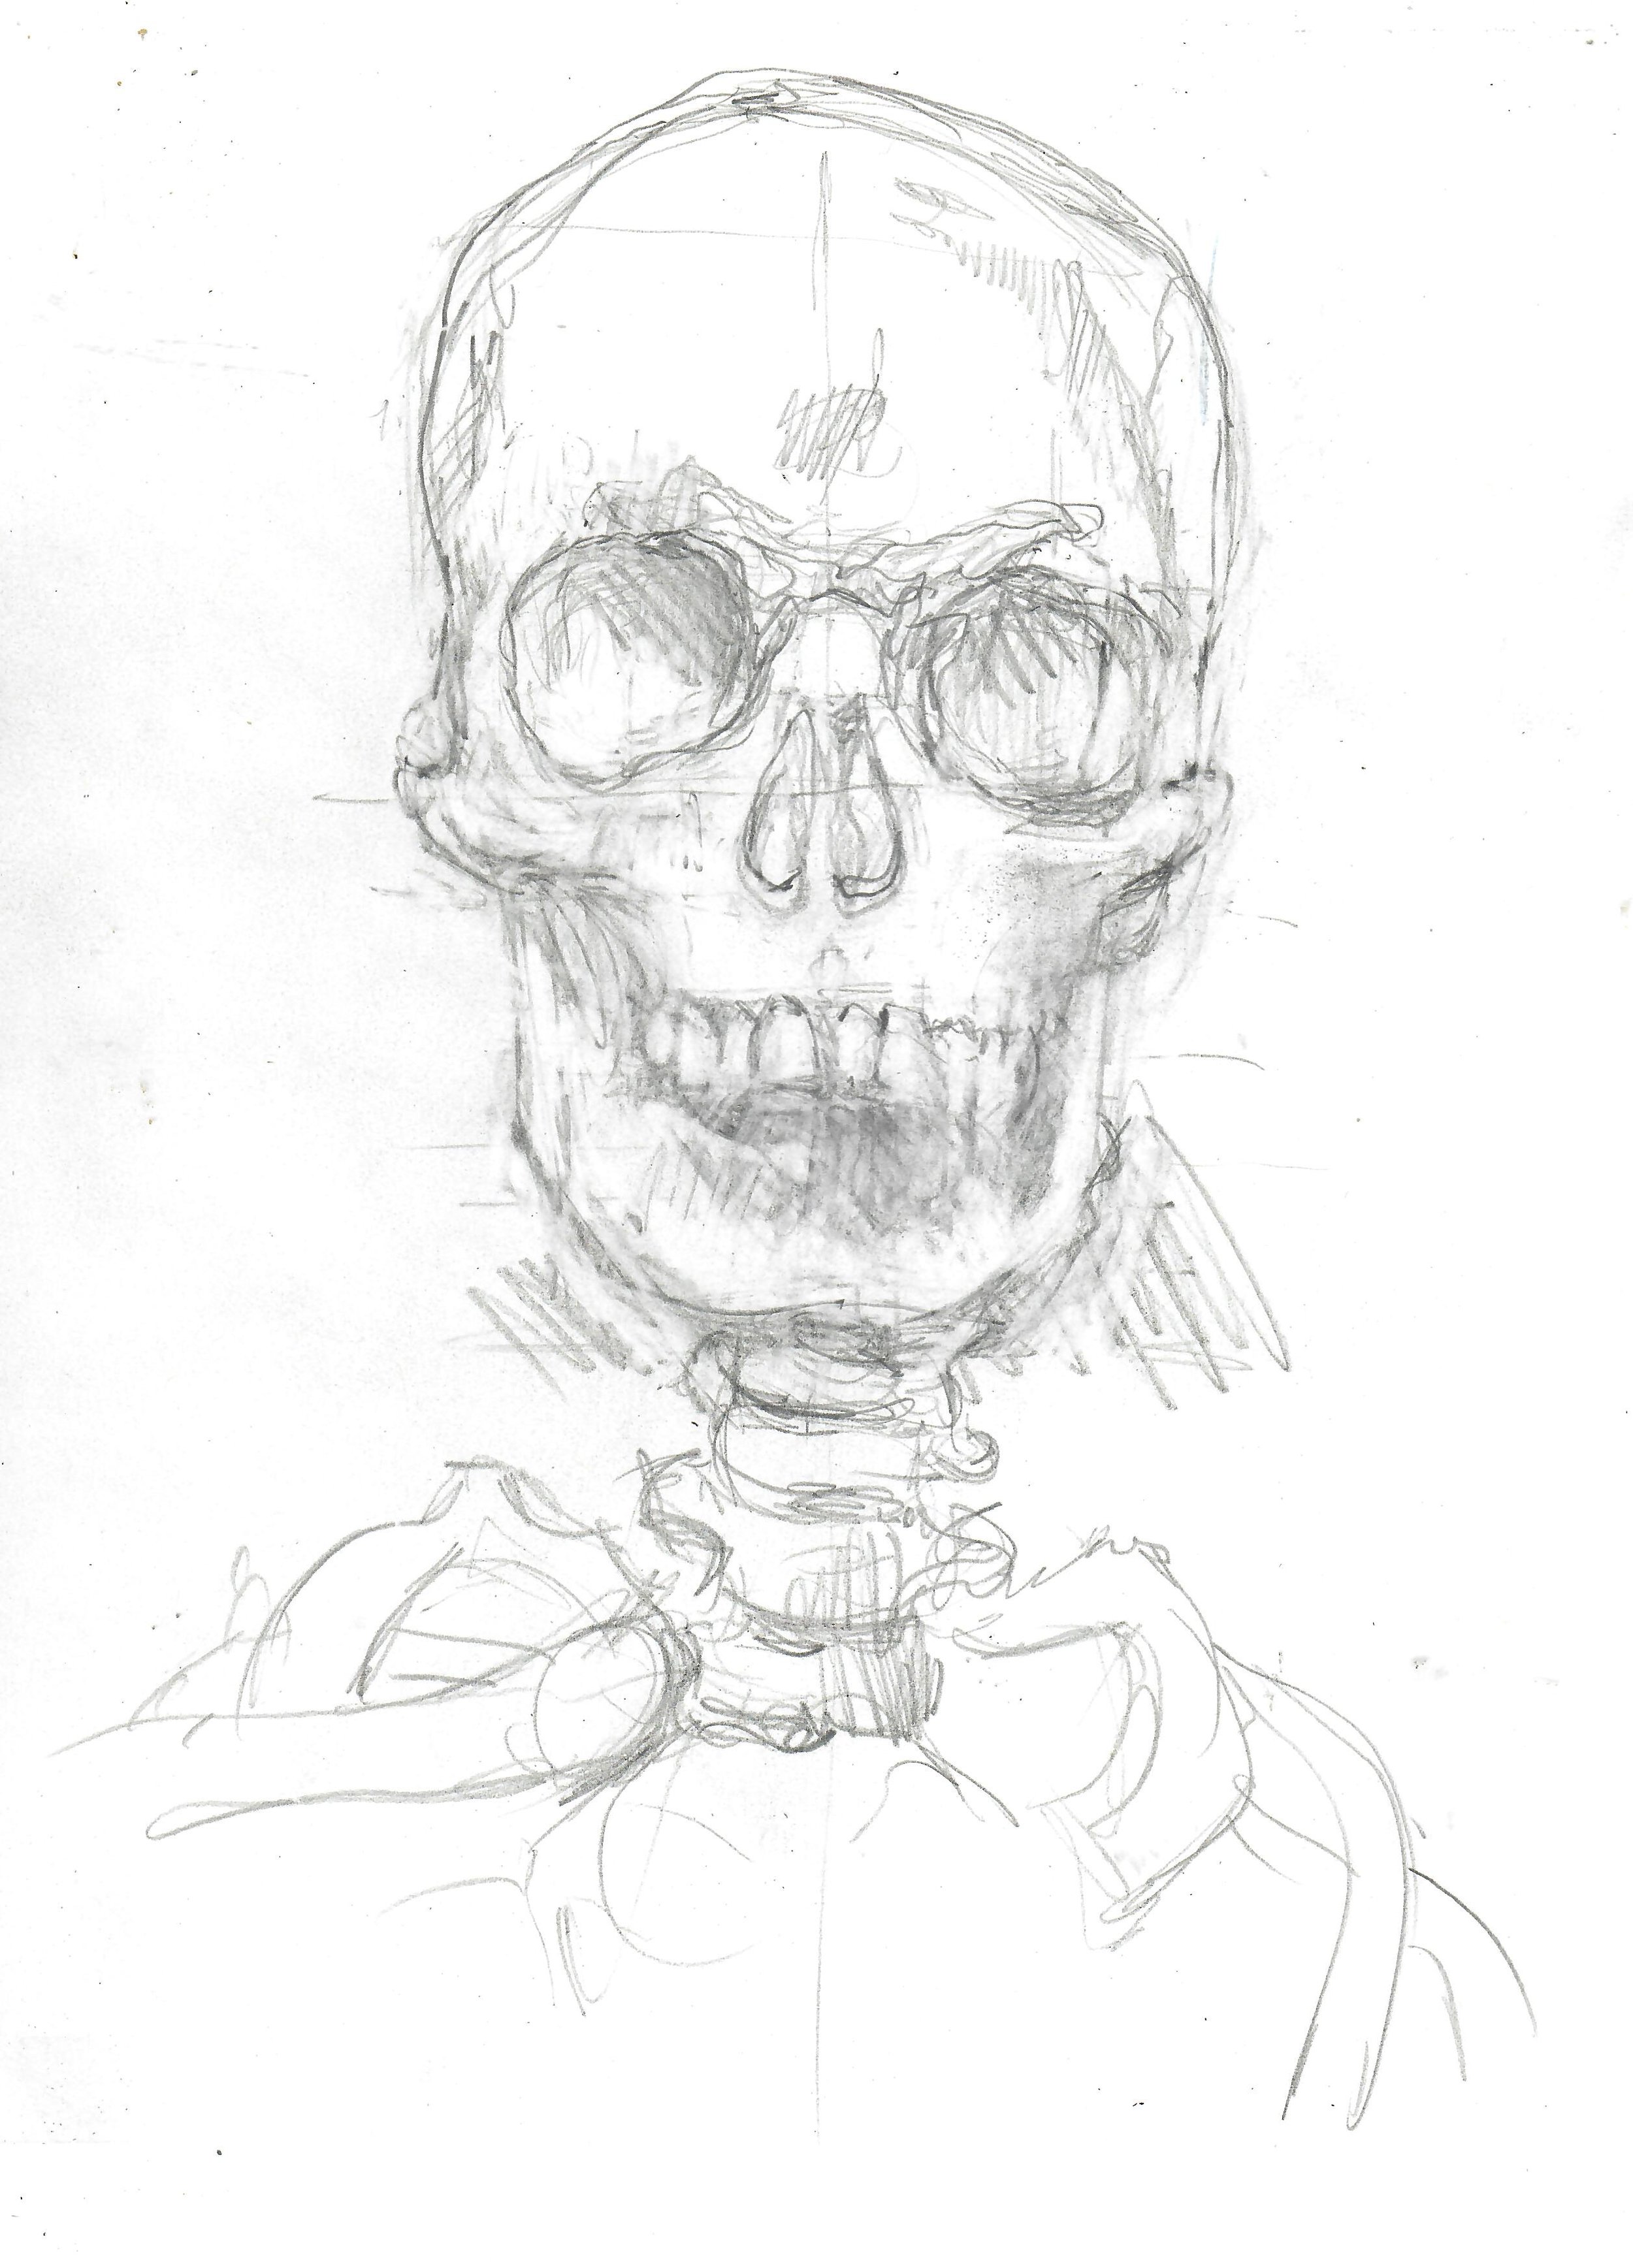

In the center image we see the use of gesture drawing ( a technique that quickly finds the major elements of the skull) this technique comes after there is a mastery of eye to hand coordination. Once quickly drawn it allow a form of technique called diagrammatic line. This lies in the spatial depth, dimension, shape, direction, and full structure. Both are shown below.
Lastly (imag far right) the final details are completed through structural lines, those dramatic lines that show depth, width and values along with shading blending, and density of shadow that goes from black to grey to white.
Using a light tablet and the image of the skull, trace the skull (using the image provided) and create it using a gesture style, or rapid drawing. Lastly add your shading that reveals values from a solid white to a solid black. When you are done cut the skull image out with scissors and glue your image into your sketch book with glue sticks.