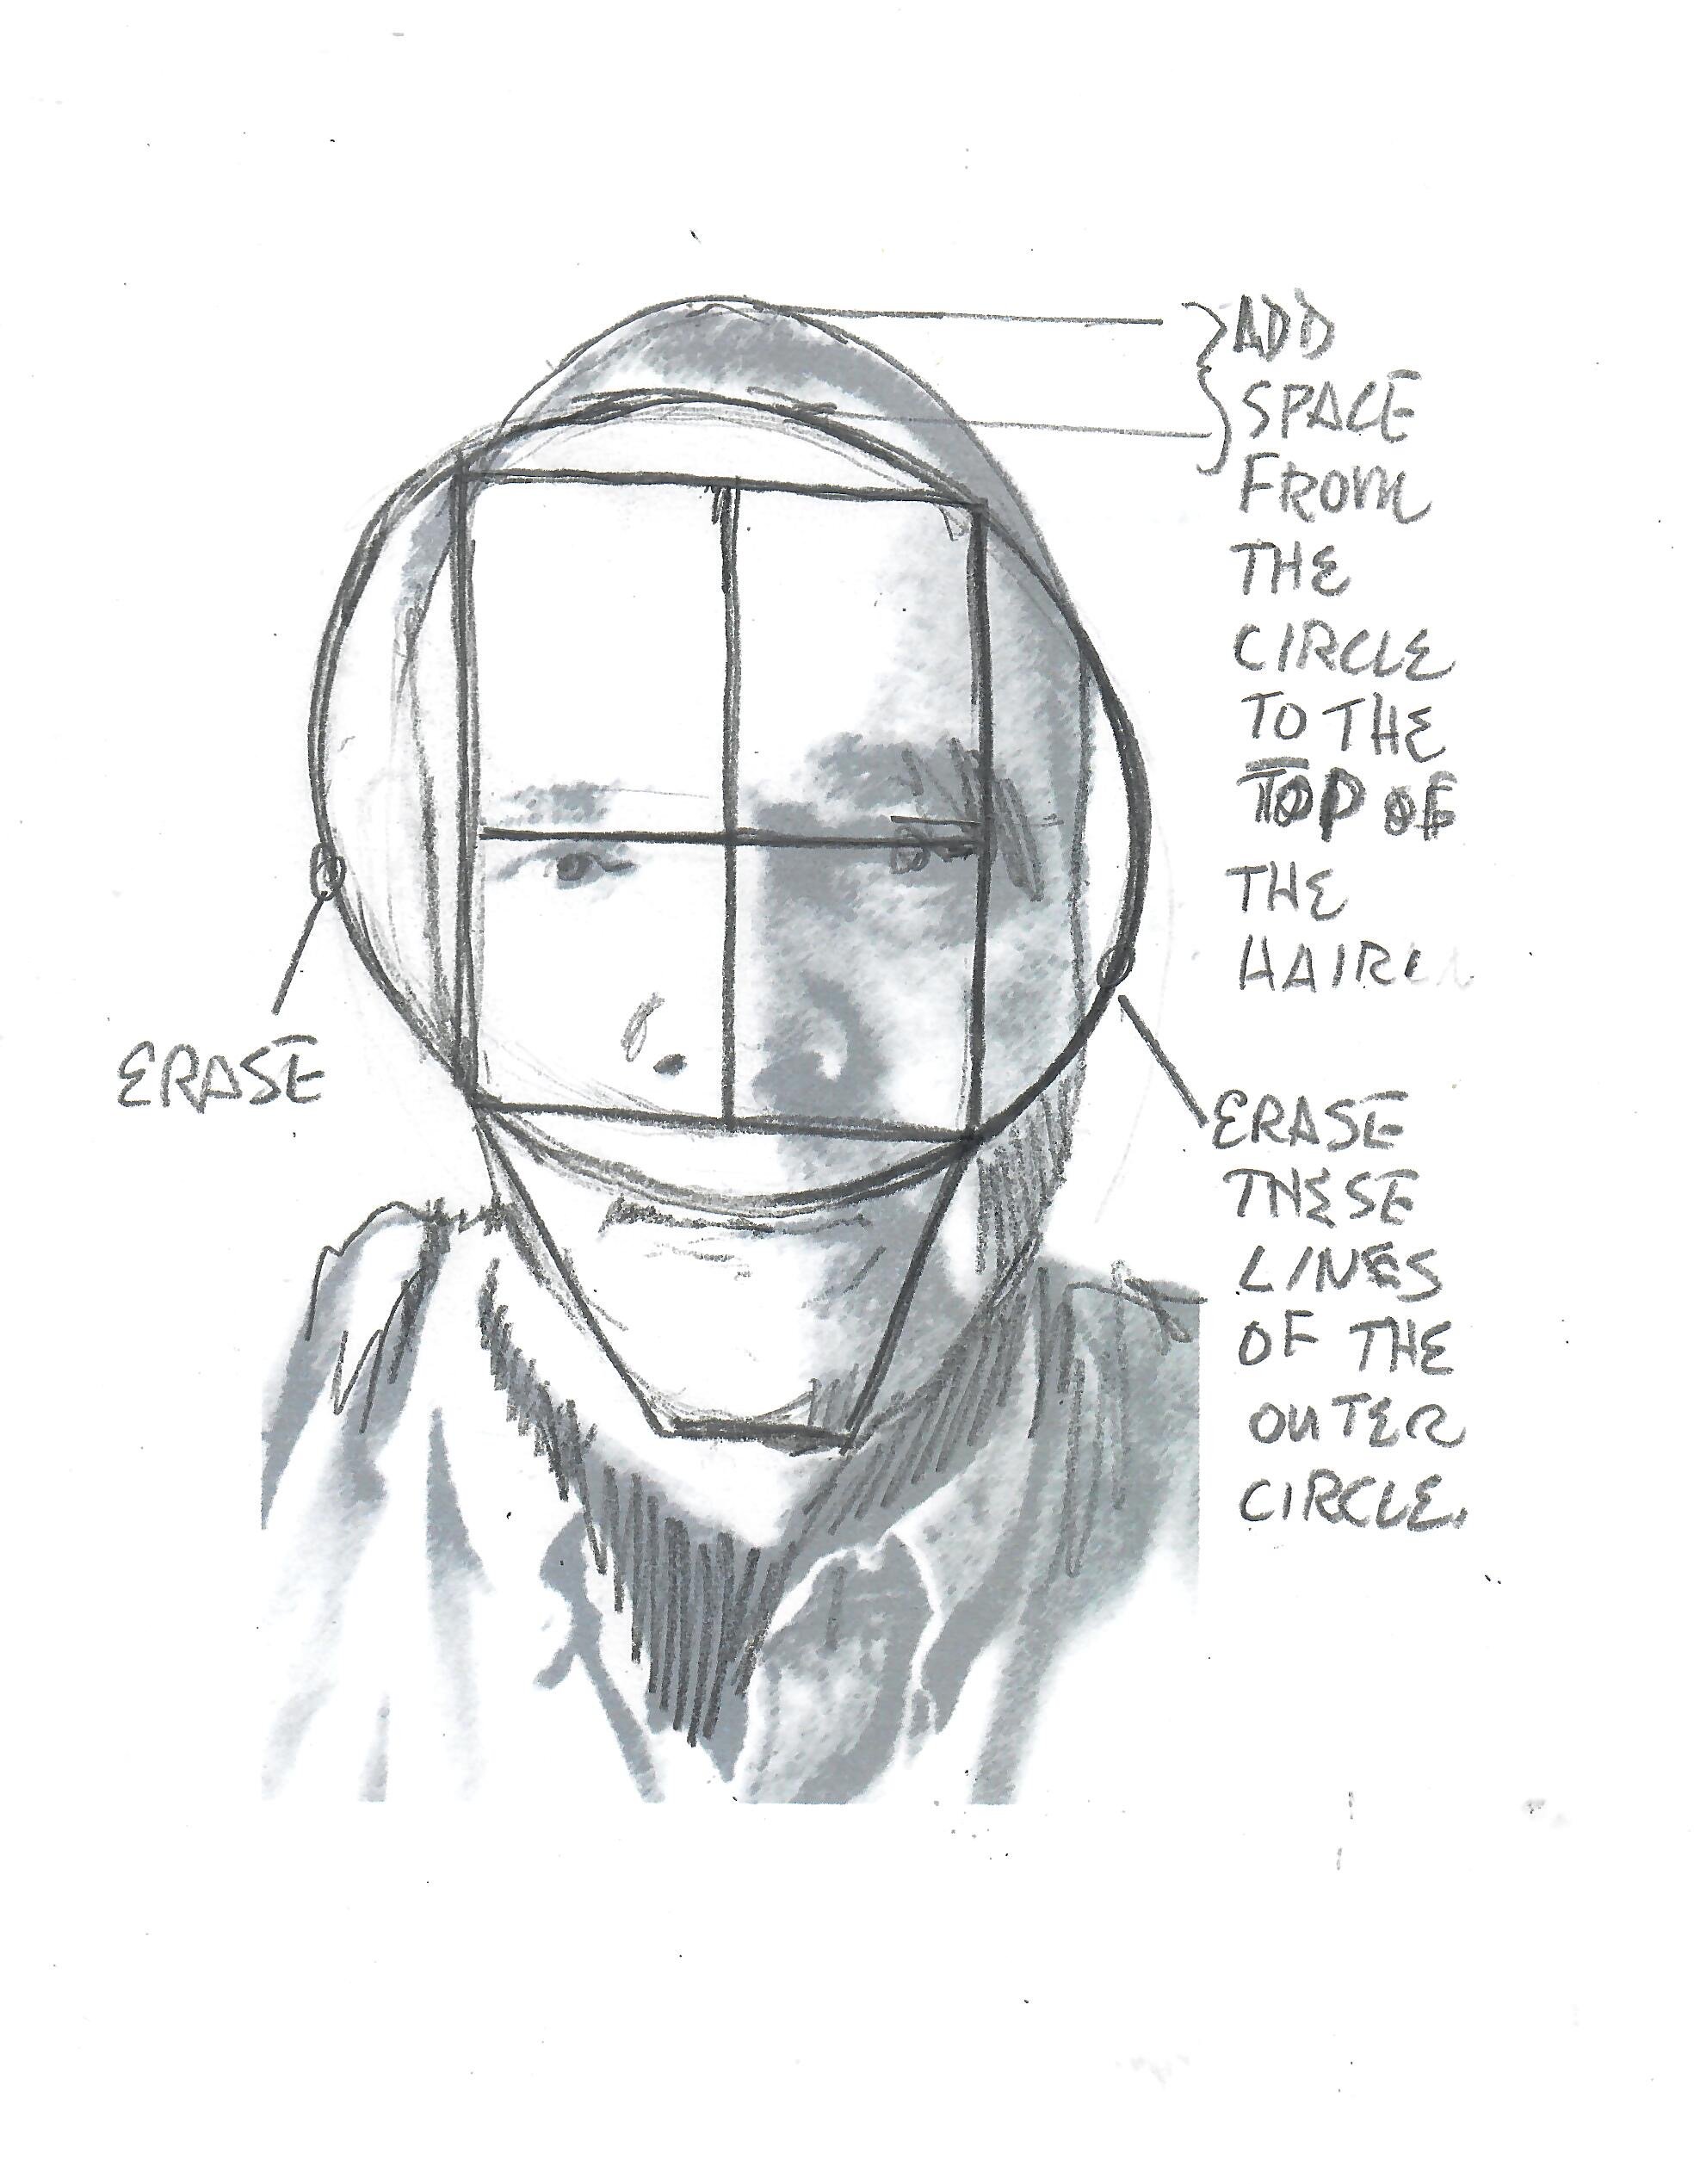
The Loomis Method is a systematic process for drawing portraits devised by Andrew Loomis, an American illustrator and art instructor. This approach to drawing portraits simplifies the complex task of capturing the human head from any angle in three dimensions. It all starts with a basic ball shape, and from there, you’ll pinpoint key measurements to map out the facial features.

Loomis emphasizes that accurately placing these features on the fundamental shapes representing the face and head’s planes is more crucial than focusing solely on the features themselves. This approach challenges how most beginners start drawing faces by trying to copy the contours of the face without considering its basic structure and proportions, which is why learning the Loomis Method can help budding artists draw more accurate and impressive portraits.
The brilliance of the Loomis Method lies in its ability to break down the intricate process of drawing the human head into simple, repeatable steps. Even if you’re a beginner, these steps are designed to be easily learned and applied.
To learn this portrait skill first find a large image of a face in one of the magazines on your table.
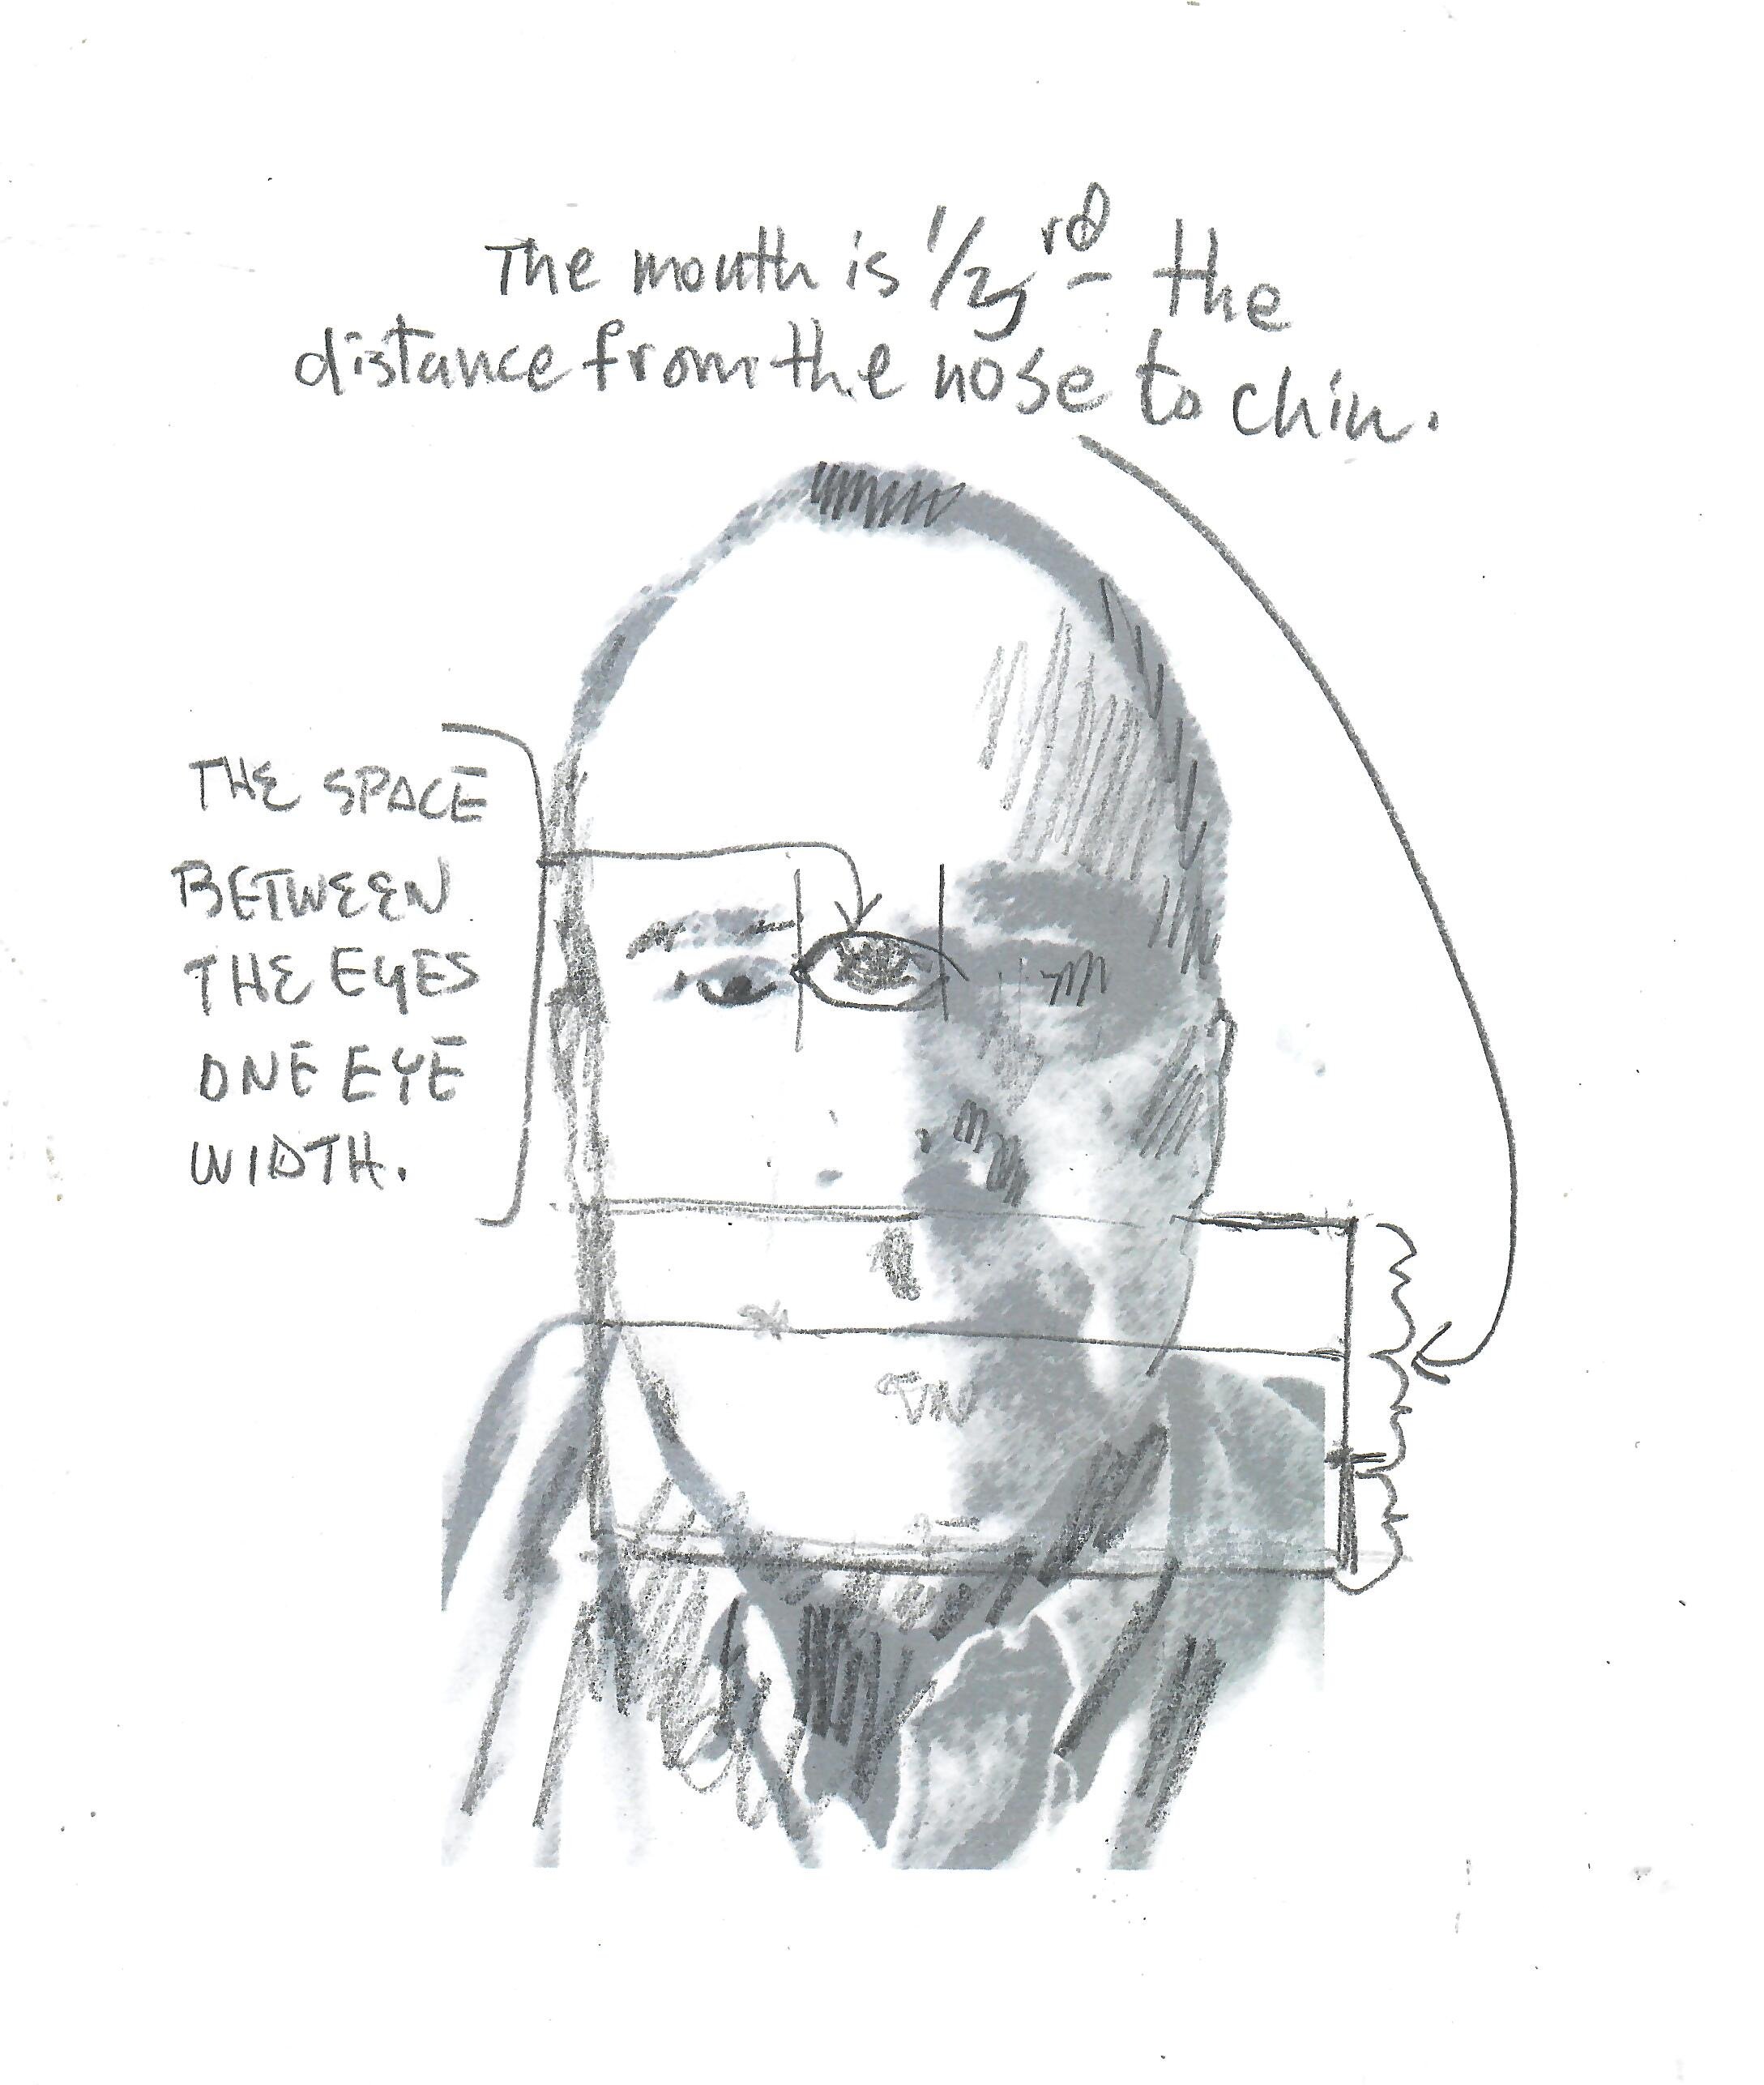
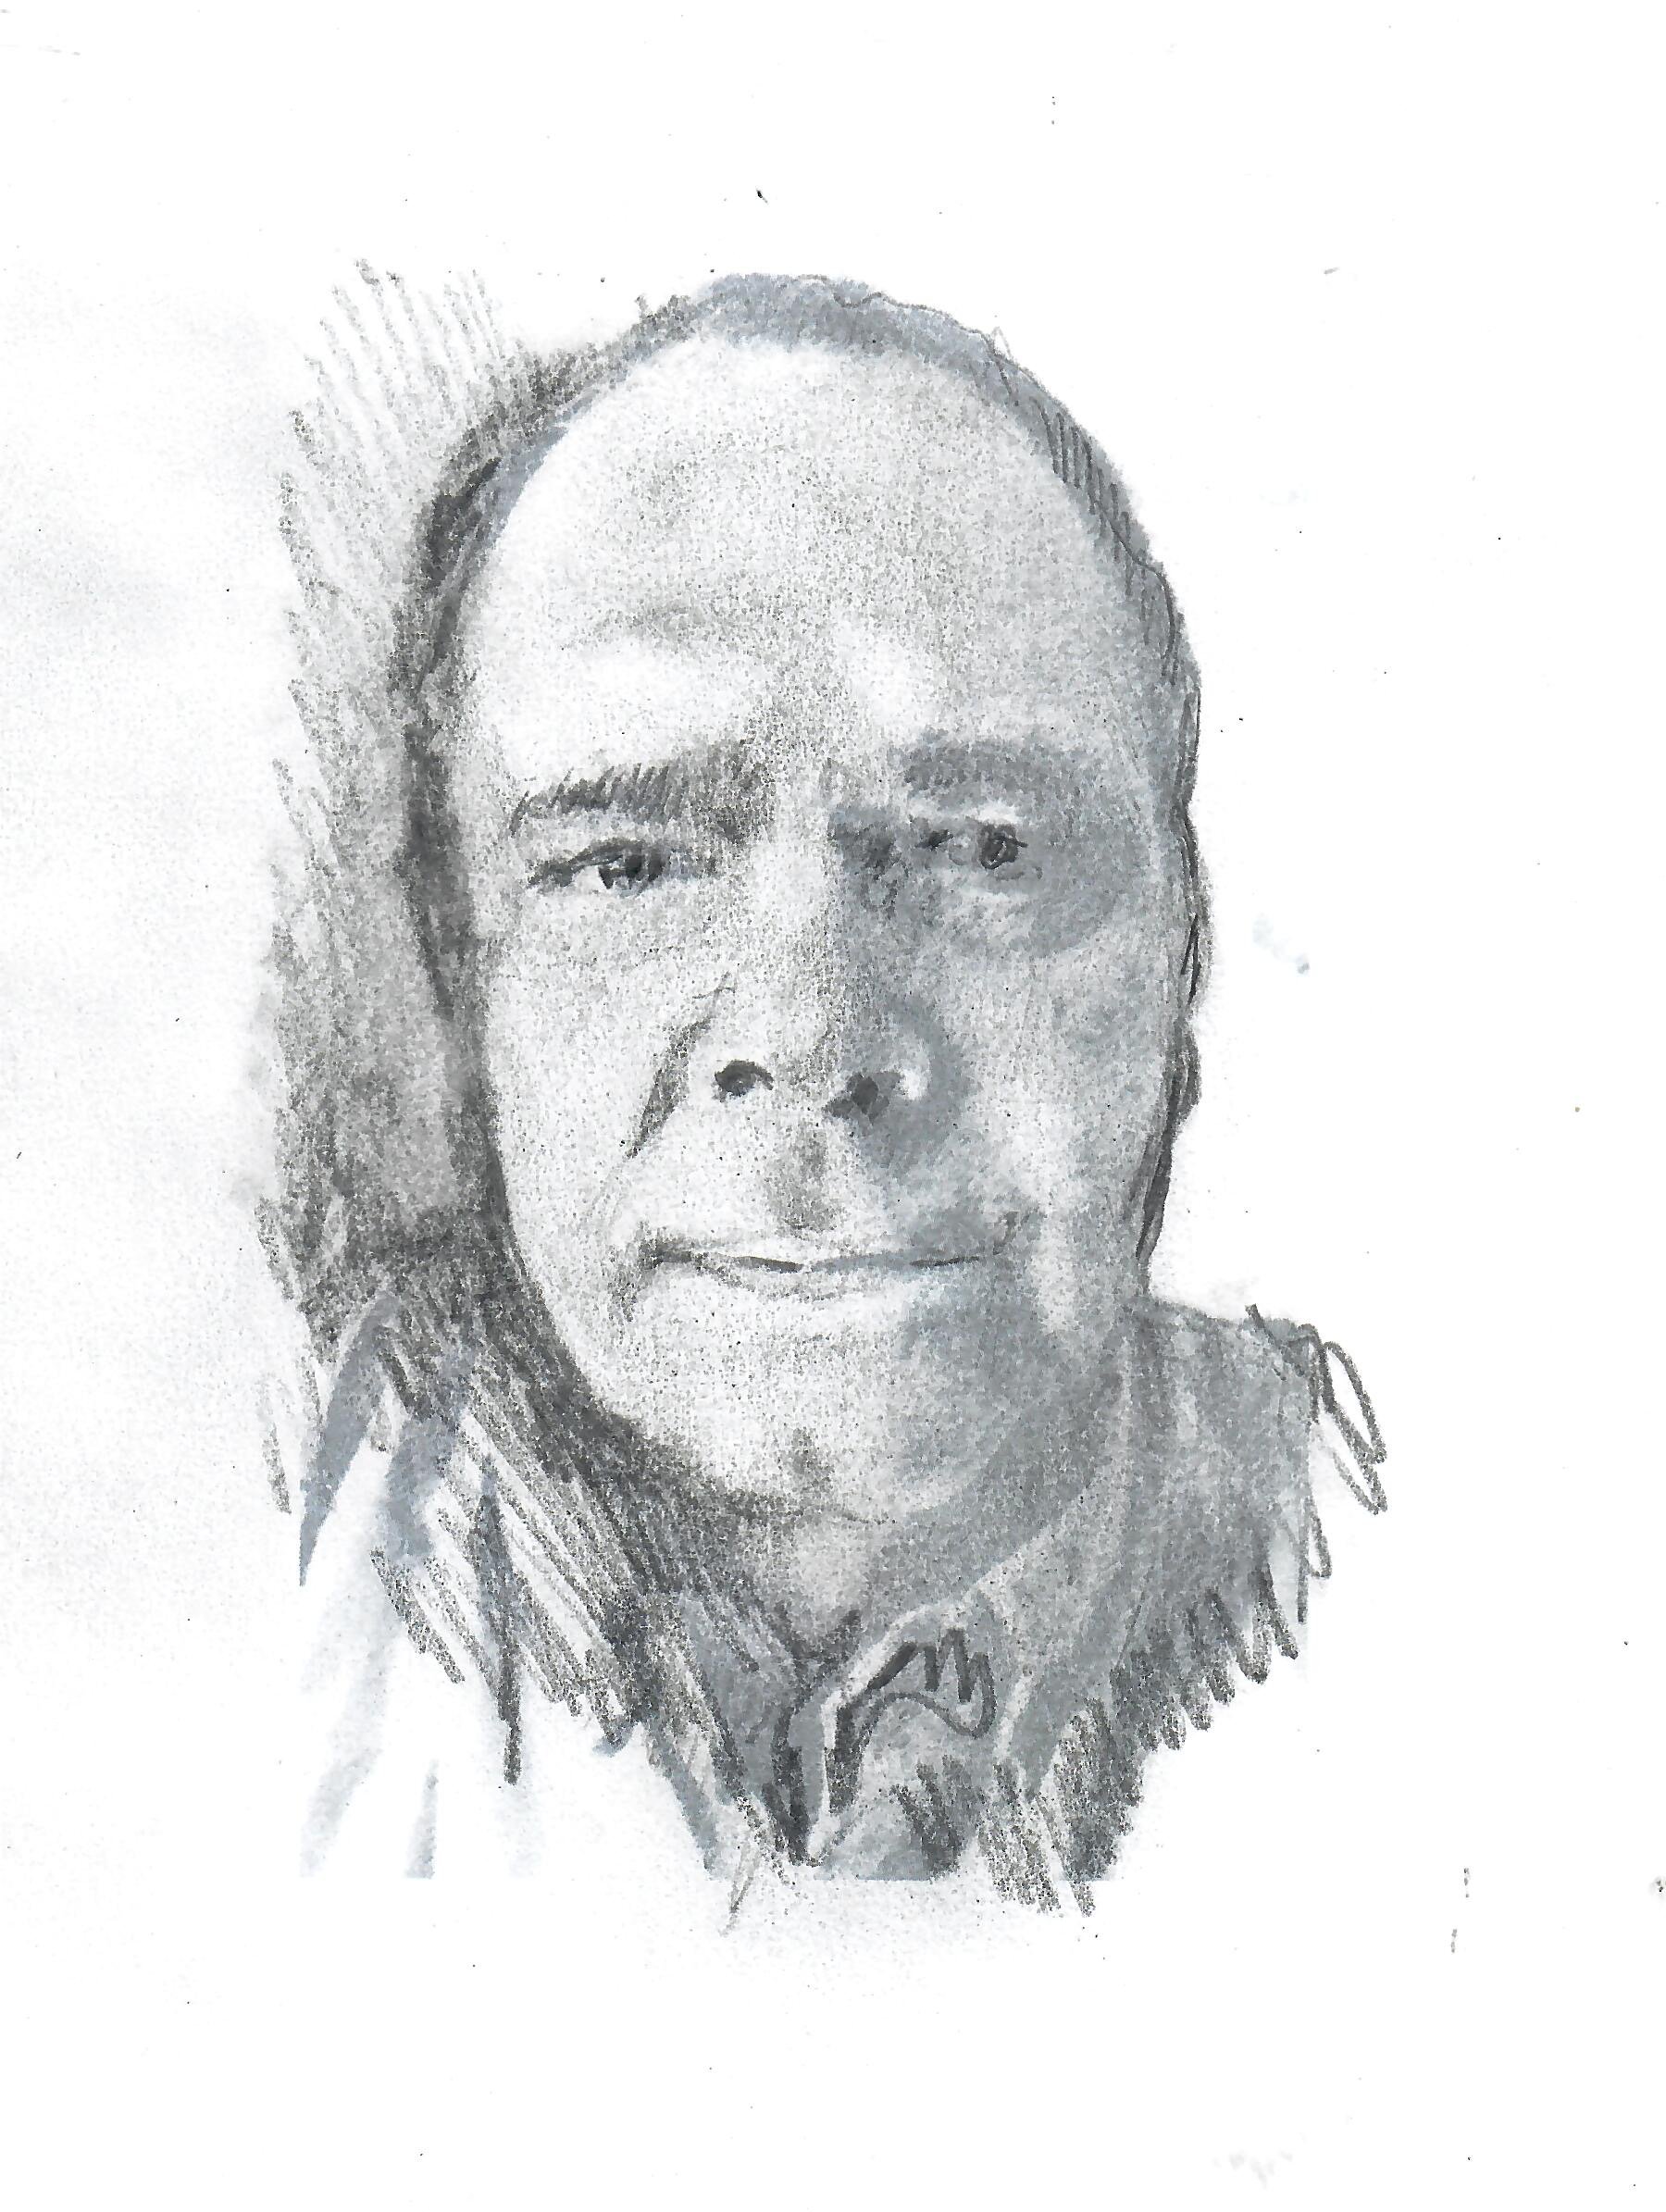
The image needs to be at least half of the size of the paper size in your sketchbook. Paste the image onto the left side of the sketchbook. Use the right side in your sketchbook to draw your portrait. Follow the steps below to find the basic proportions of the portrait. Those dimensions will change slightly because no one has the same face proportions.